Using Harbor — Student Guide
This procedure describes how to use Harbor, a Docker and Podman image registry.
1. Access the Ecloud Portal
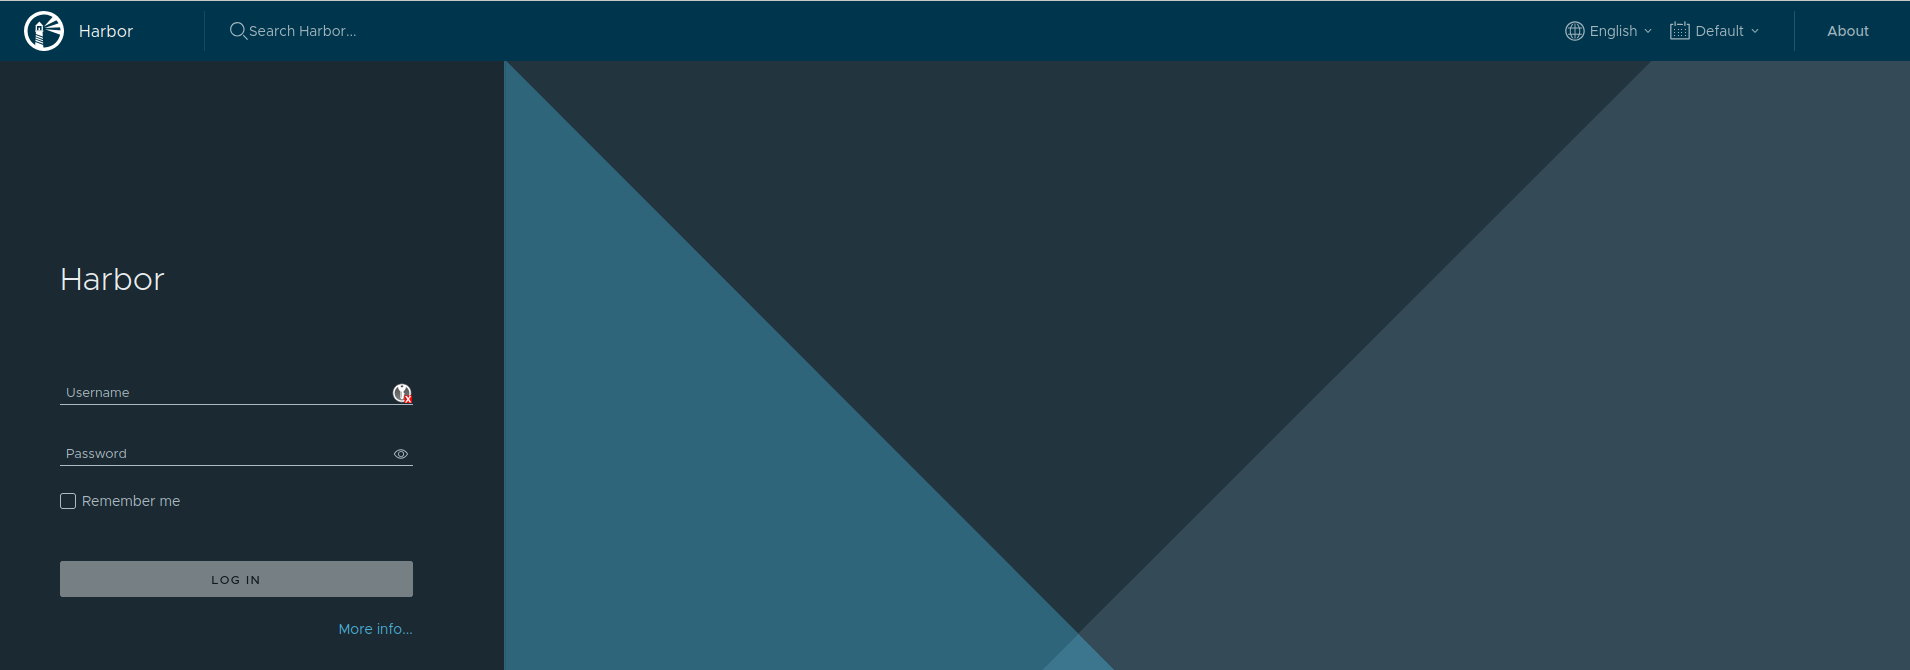
Go to the ECloud portal:
🔗 https://im2ag-harbor.univ-grenoble-alpes.fr
Log in with your Agalan username and password:
You will land on your projects page.
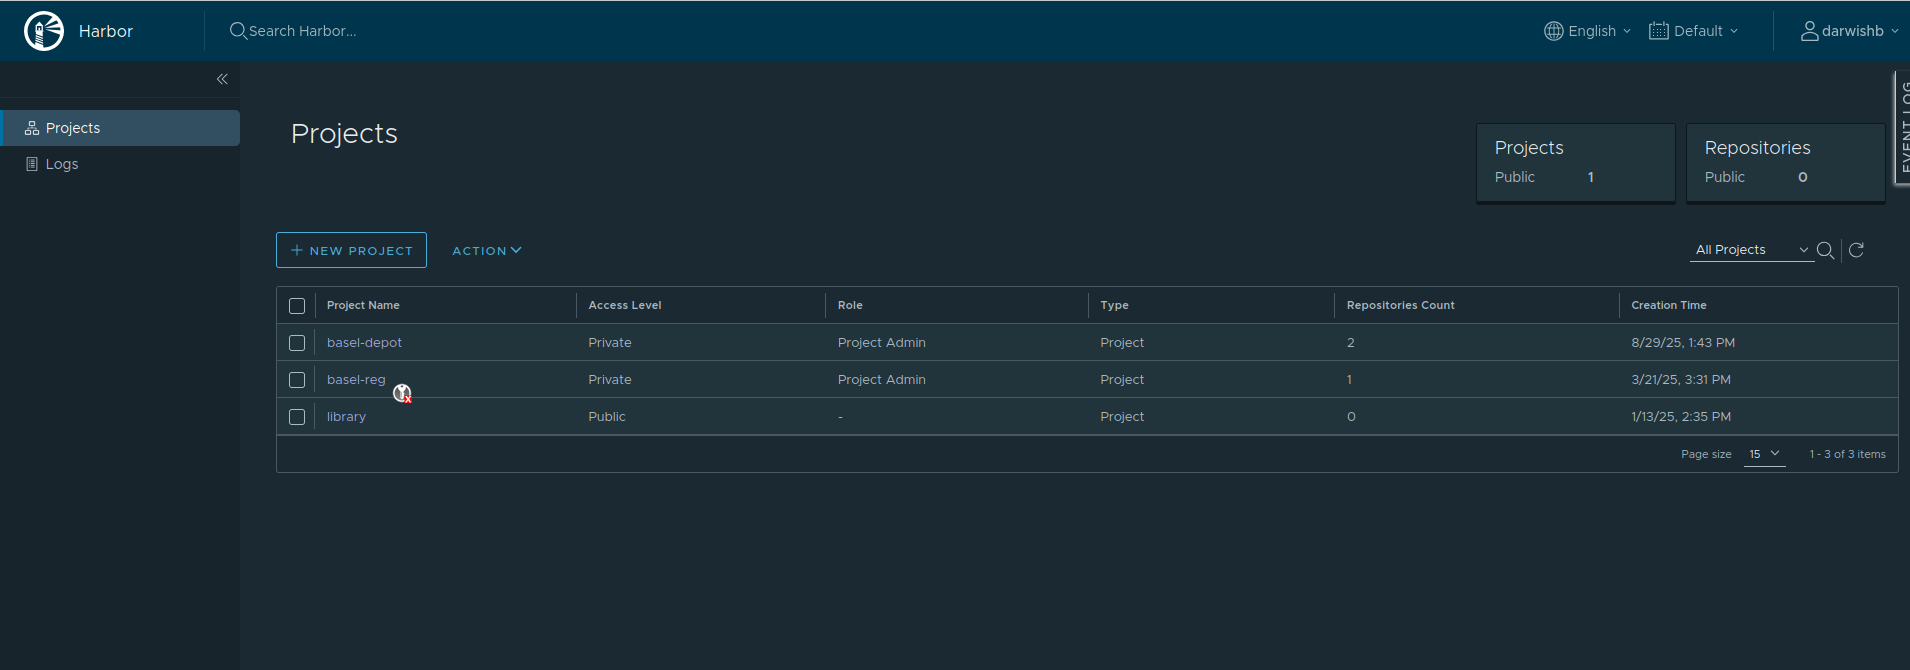
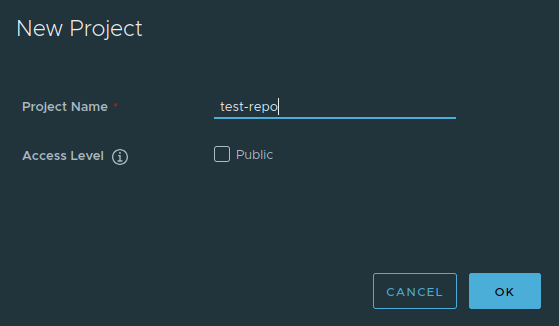
You can create a project by clicking New Project
and specifying the visibility of your repository.
Note:
When a project is set to public, anyone is allowed to read the repositories under that project, and users do not need to run “docker login” before pulling images from this project.
Once the project is created, click its name to access its Repositories.
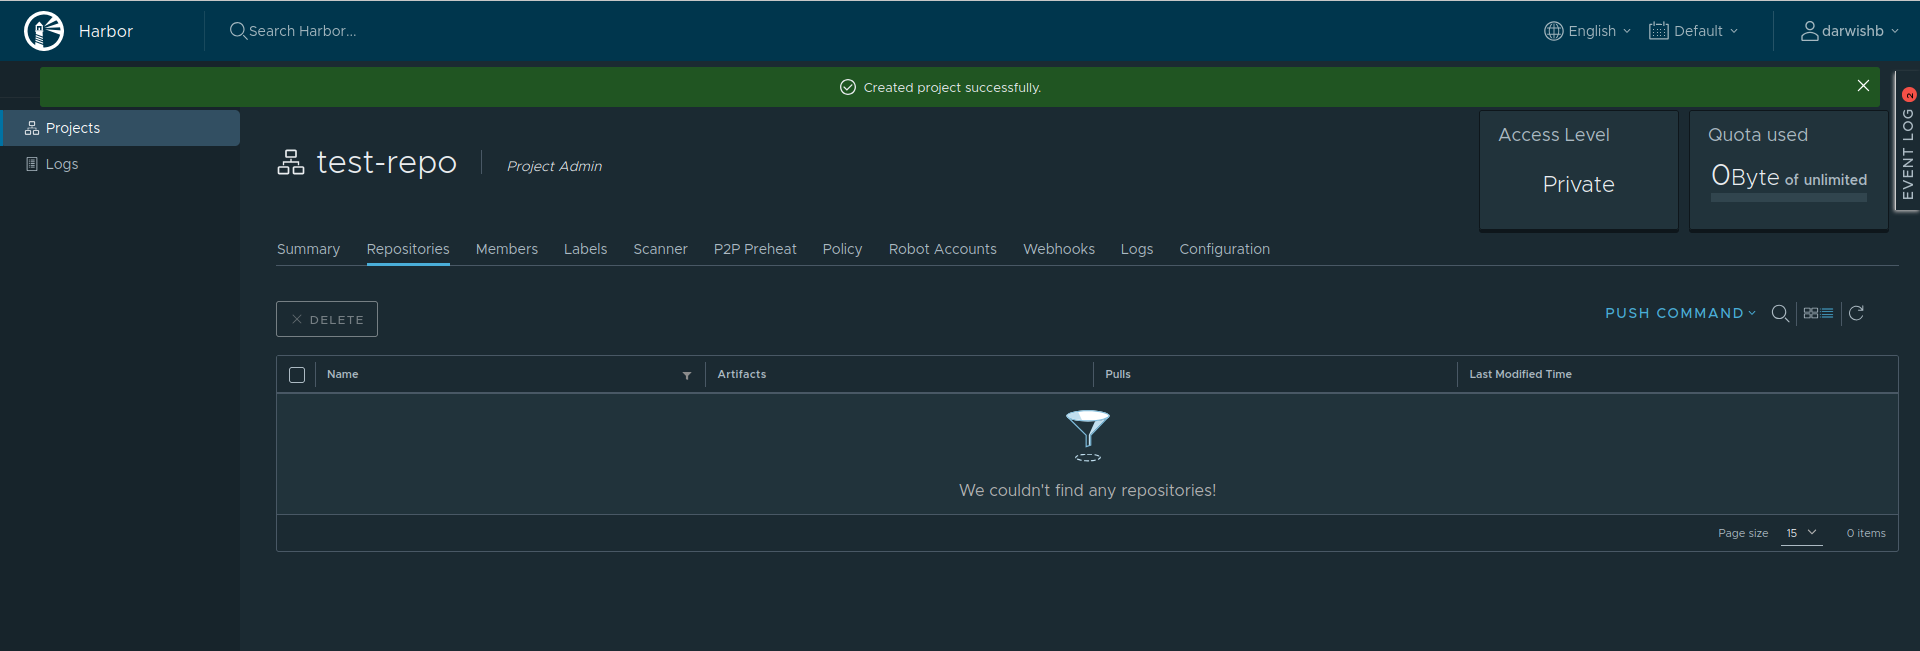
Before you can push images to this registry, it is recommended to create a Robot Account to interact with this repository.
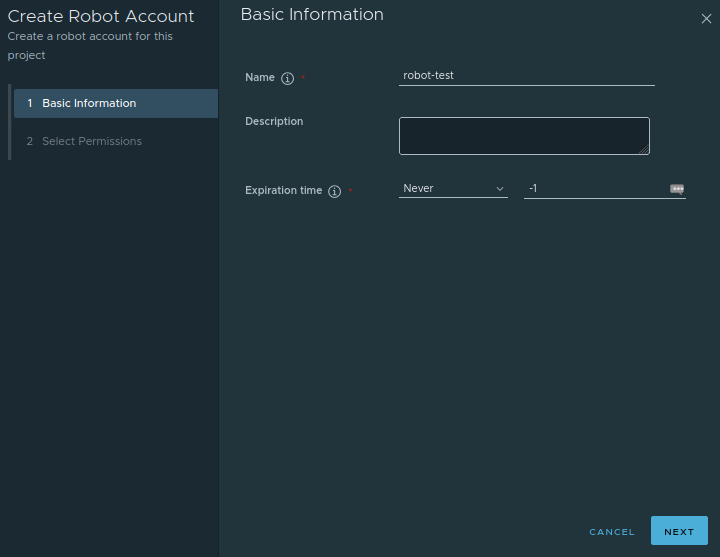
- Create a robot account and choose its expiration date.
- Click Next and define its permissions.
You will obtain a generated username and password for your robot.
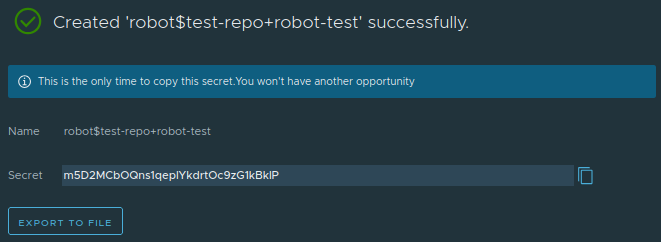
You can export this password to a file.
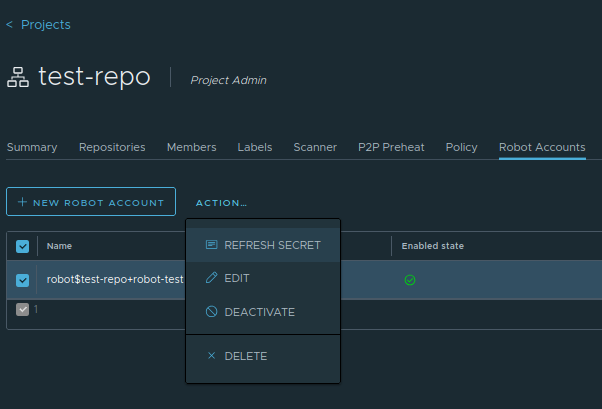
For your information, if you lose the secret file, you can regenerate a password by selecting the robot account and clicking Actions → Refresh Secret.
You can then either refresh or set a password of your choice.
⚠️ Important note: the login contains the special character $.
Be sure to escape it.
If you do not escape this character, the shell may replace part of your login with an empty string!

At this stage, you can log in, push, and pull images from your repository.
Log in to the registry:
There are several ways to authenticate to your repository. We will use a simple command-line method.
1- Make sure you are connected to the university network — via VPN if you are on Wi‑Fi.
2- Use the following command
echo 'mot de passe' | docker login -u 'login' --password-stdin https://im2ag-harbor.univ-grenoble-alpes.fr

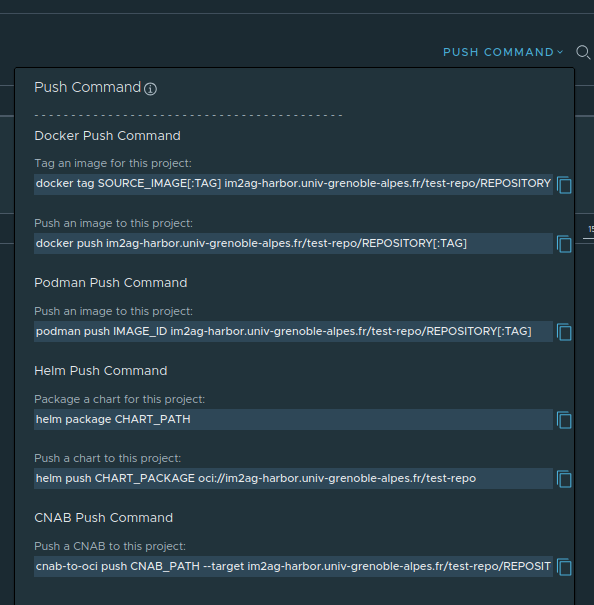
From the Repositories tab, click the Push Command button.
You will find a command template to run.
Complete Example: Pushing an Image to Harbor
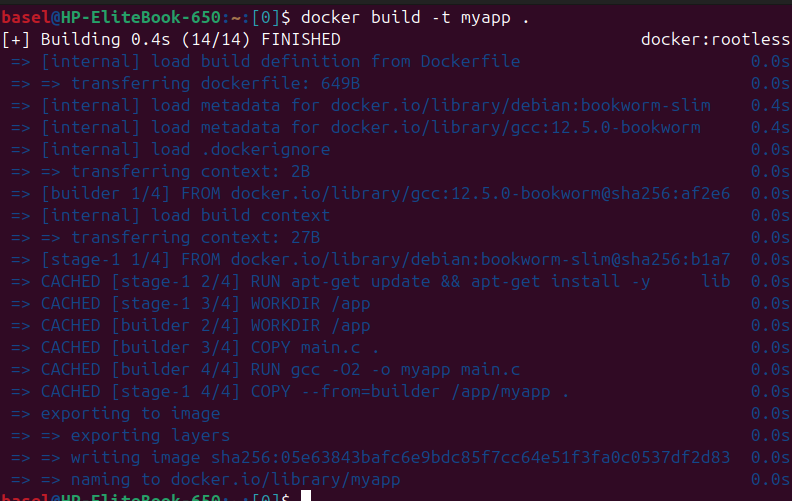
- Build the Docker image
From the folder containing the Dockerfile:
docker build -t myapp .
This builds a local image called myapp:latest
- Tag the image with the Harbor URL
To be able to push it to Harbor, tag it with the full path to the registry and project:
docker tag myapp:latest im2ag-harbor.univ-grenoble-alpes.fr/test-repo/myapp:v1
Here, test-repo is the project name in Harbor and v1 is the chosen tag.

- Push the image to Harbor
docker push im2ag-harbor.univ-grenoble-alpes.fr/test-repo/myapp:v1
The various layers are uploaded to the registry.

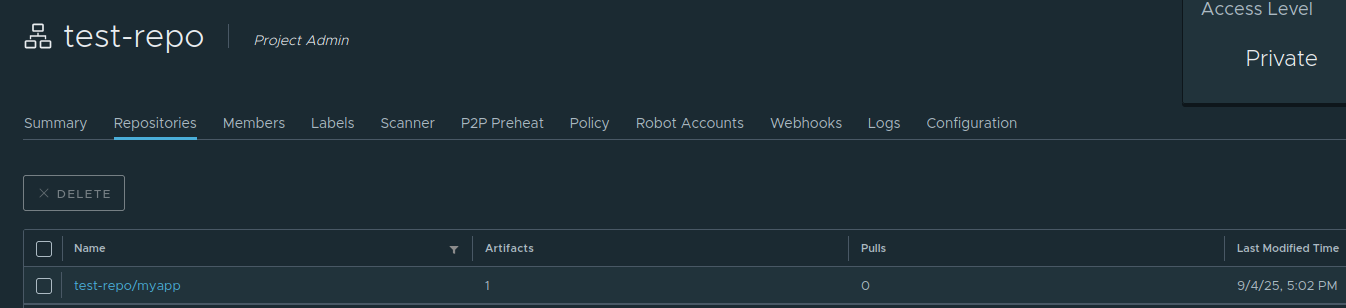
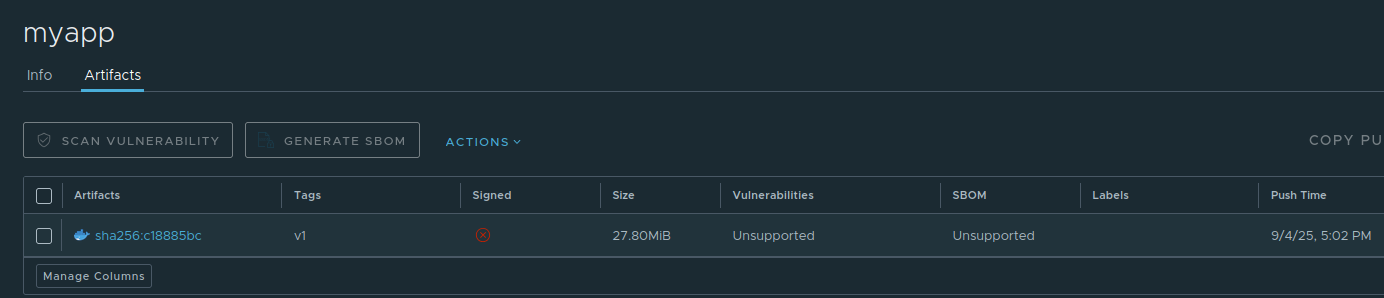
- Check in the Harbor interface
Once the push is complete, log in to the Harbor web interface.
You will see the image myapp with tag v1 in the Artifacts tab:
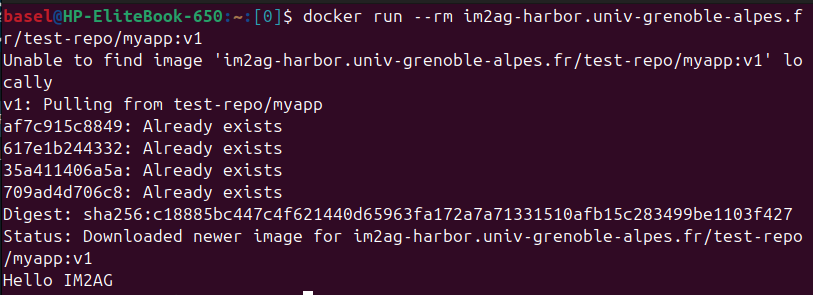
- Run the image from Harbor
If the image is not available locally, Docker will automatically download it from Harbor at runtime.